

Quick Comparison: Fujifilm X-T3 OOC Provia Jpegs And Edited RAW Files:
Hey everyone, I’m back from vacation. This post was actually meant to be up while I was on vacation but my internet was limited and very slow. This isn’t a long post; just a quick and easy read. I’m currently preparing my reviews for the Fuji XF 8-16mm and XF 55-200mm lenses, so if you want a longer read, those will be up soon. I brought those lenses with me on vacation. Anyway, while I am a RAW user all the way, the Fuji X-T3 does produce some killer jpegs (so does the D-Lux 7 by the way…review of it posted a few weeks ago. I thought I’d post a few of the OOC jpegs along with my RAW edits.
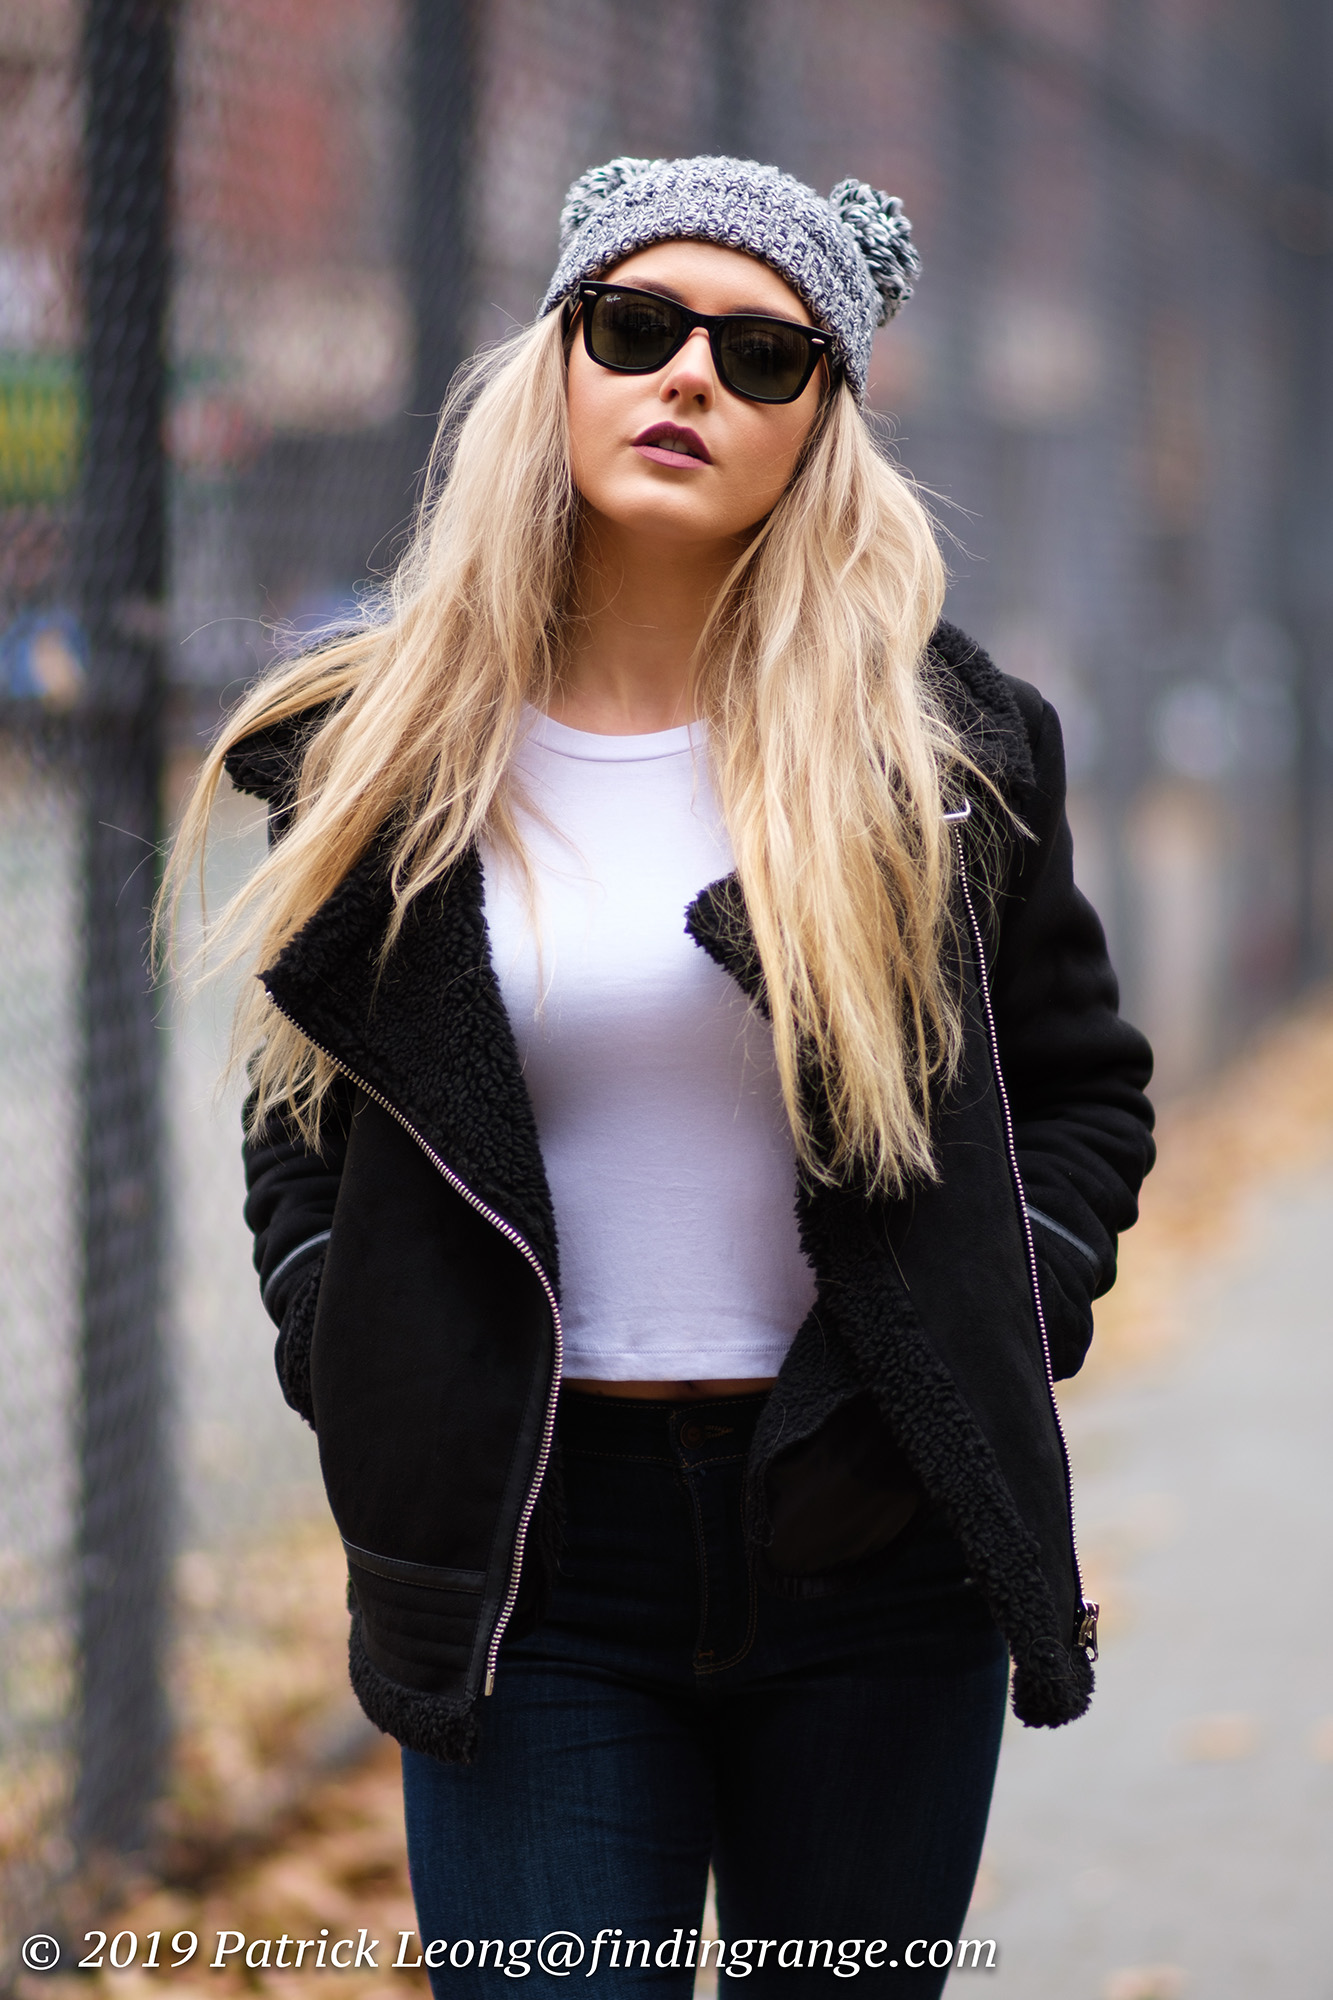
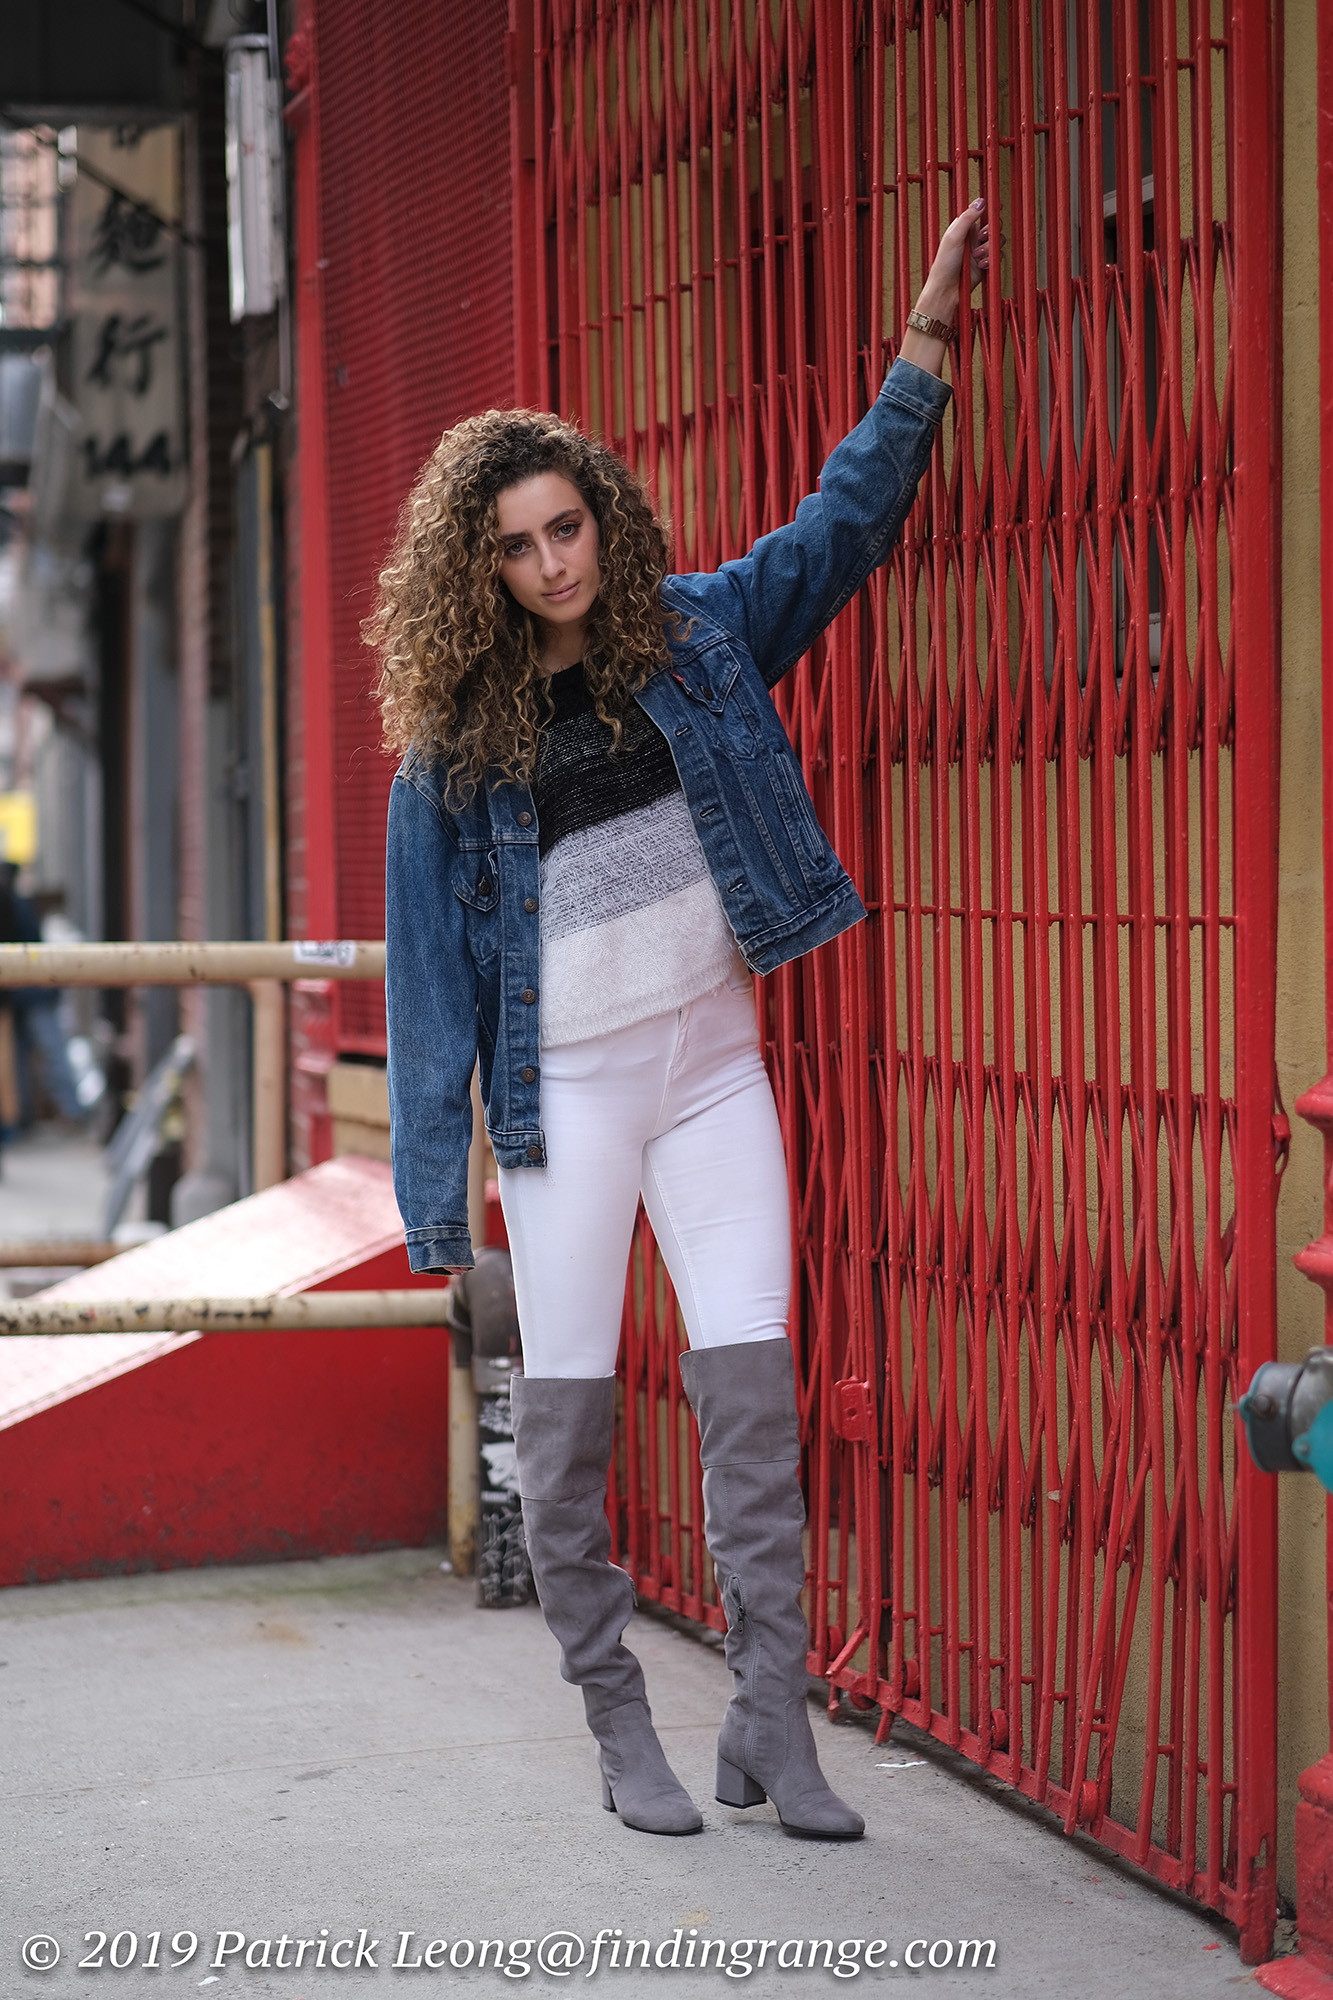
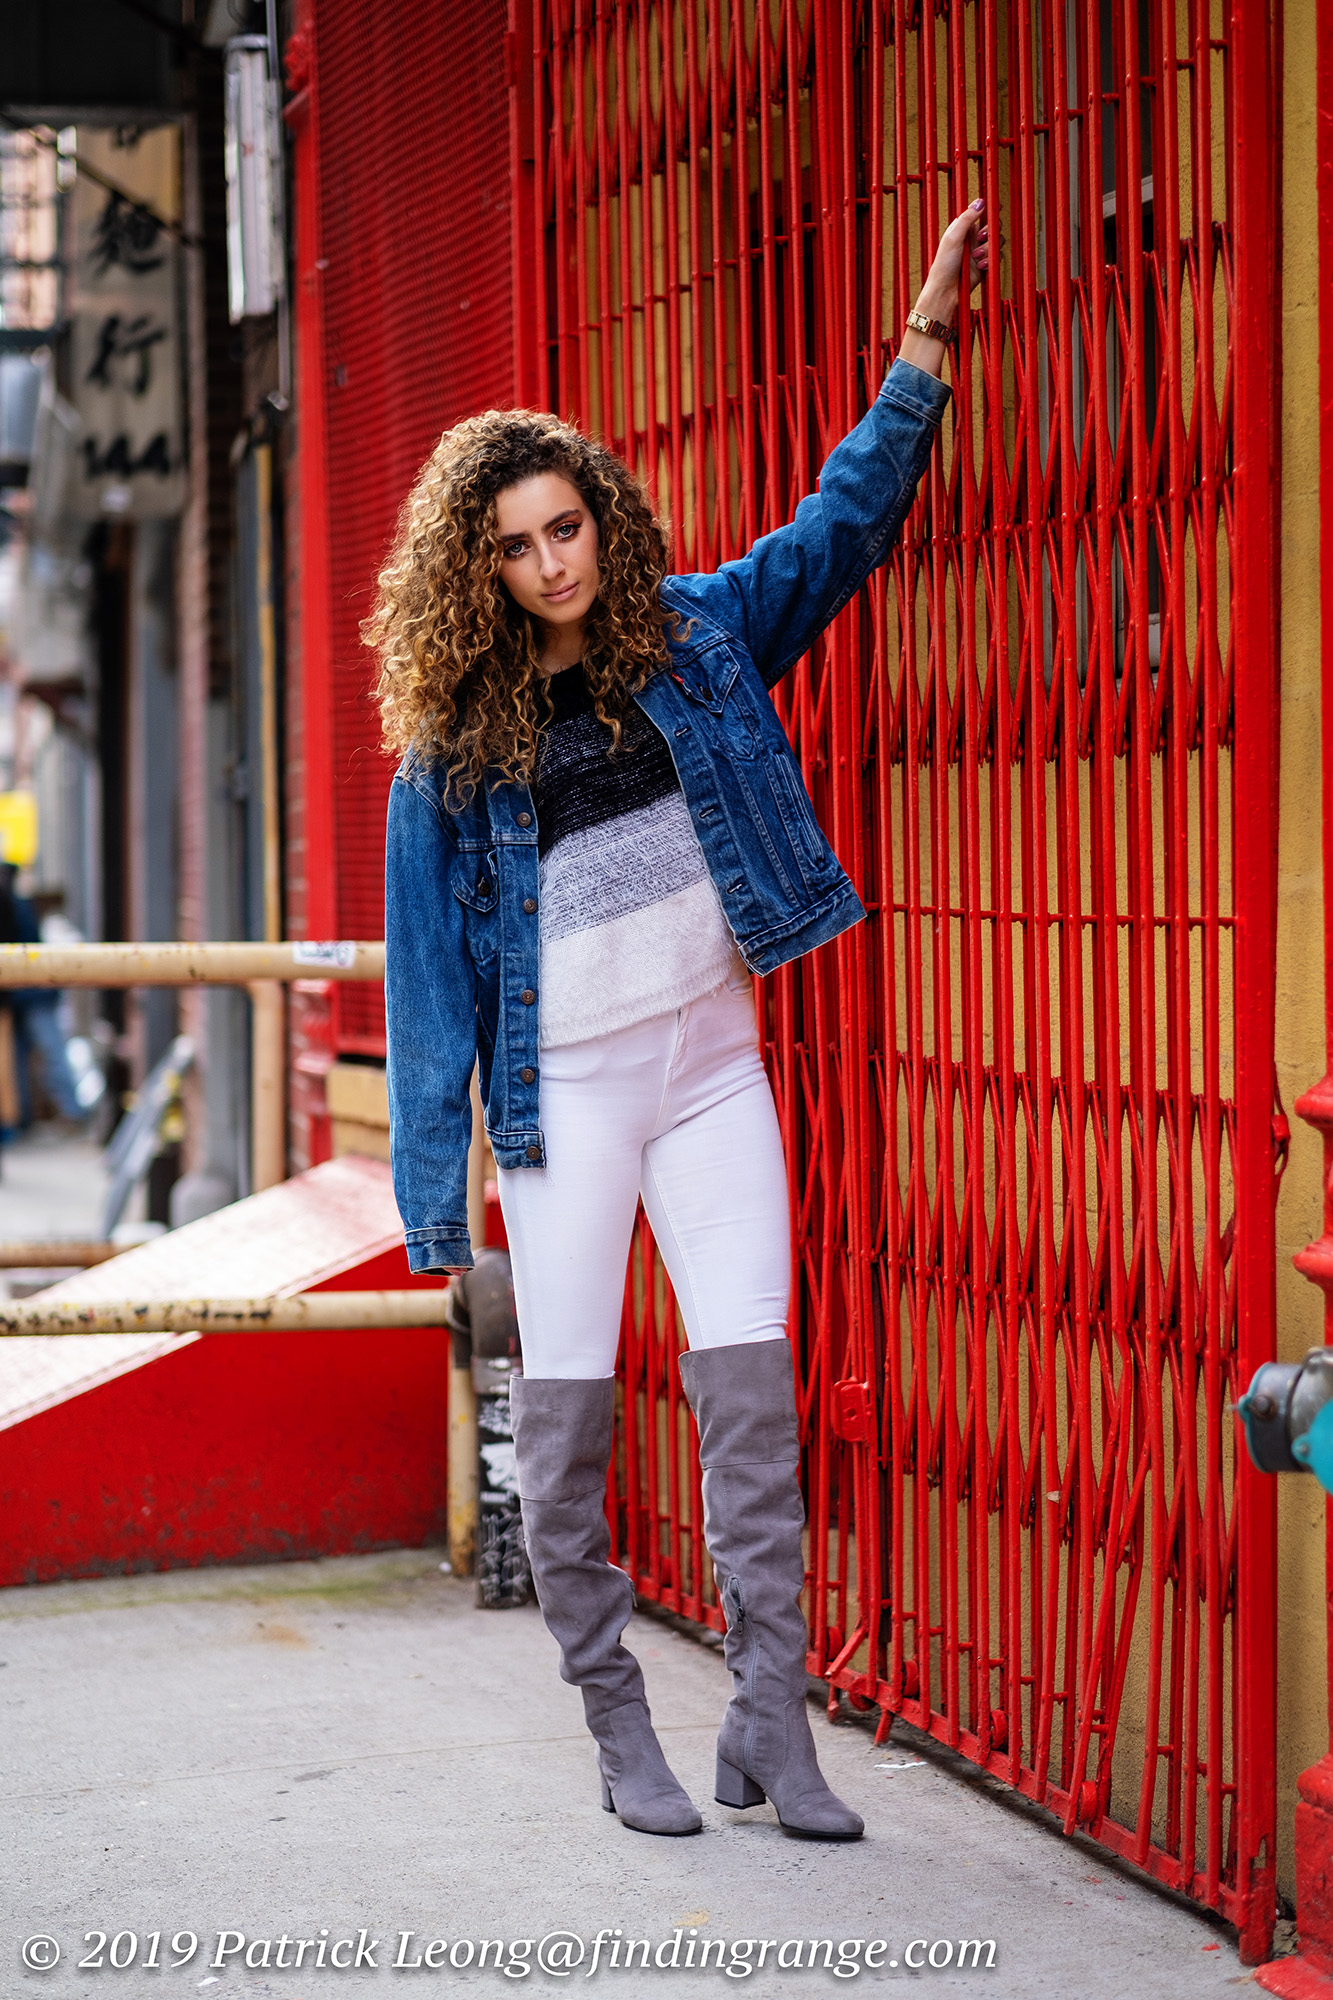
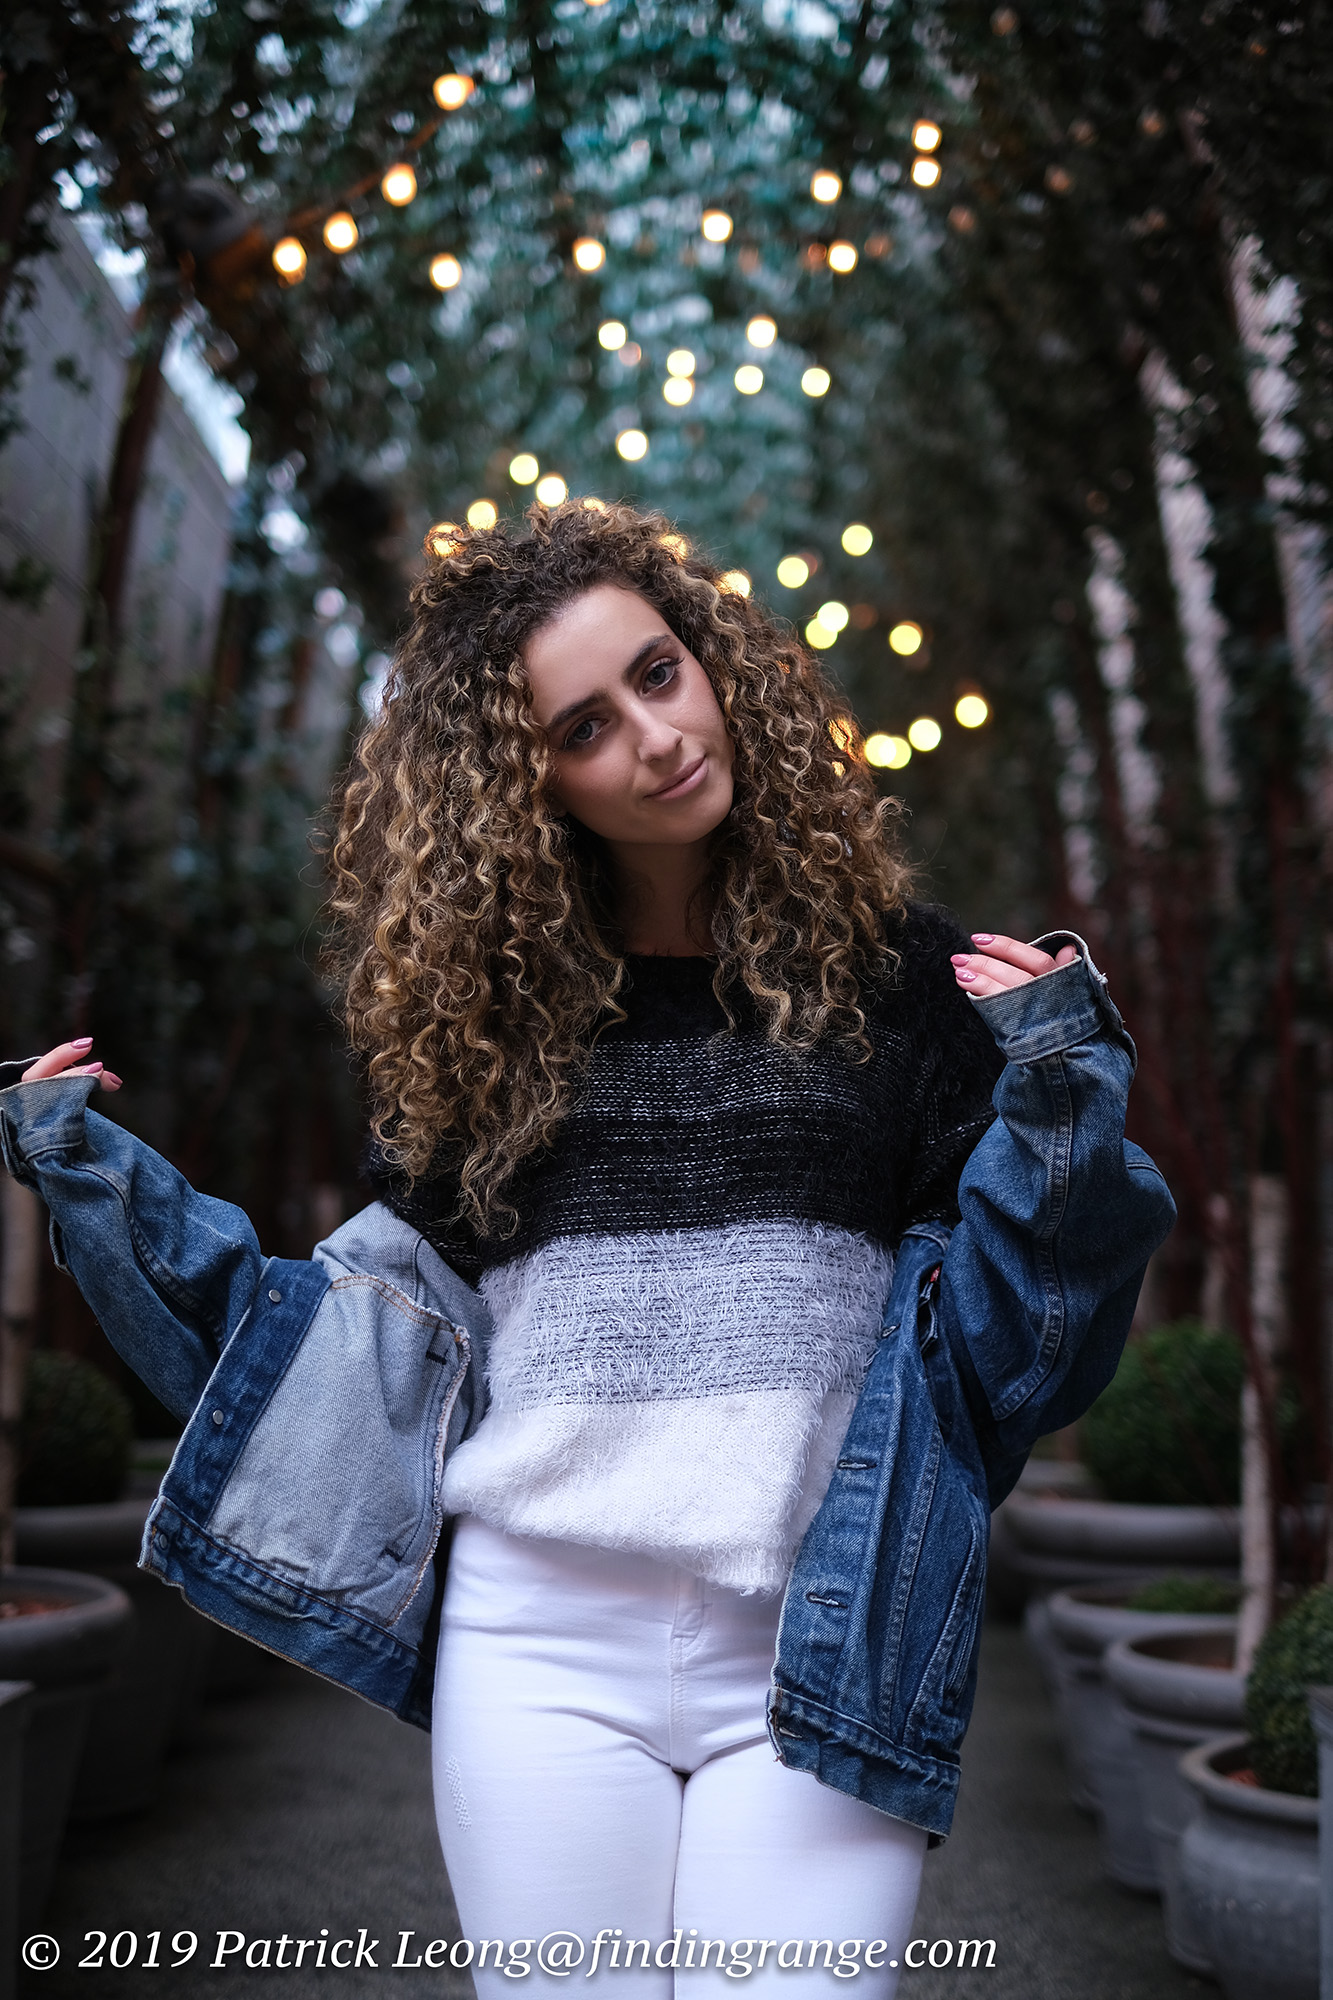
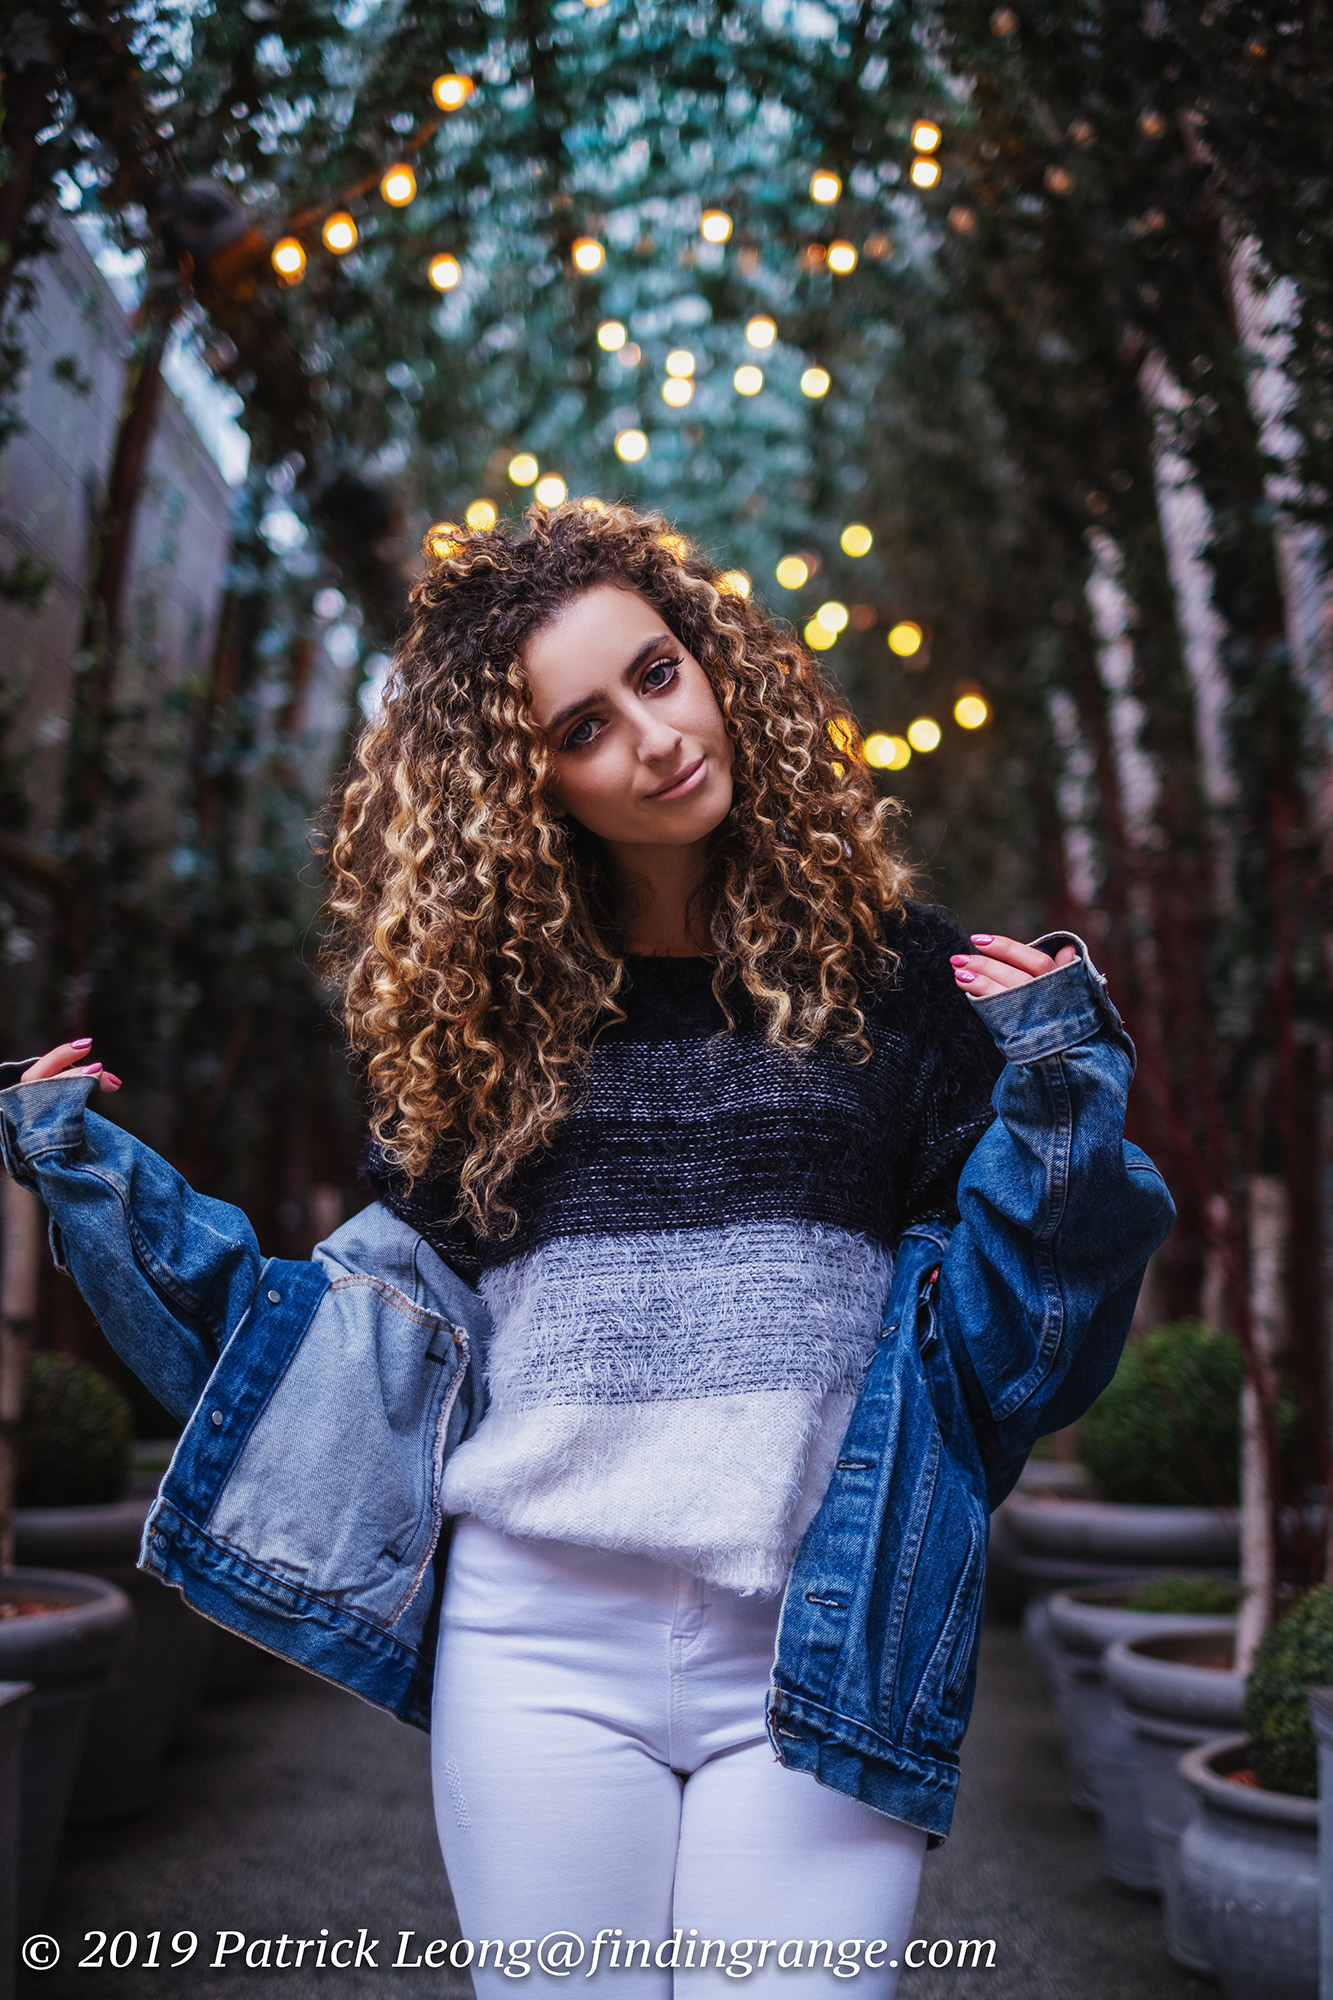
In terms of what setting I use, I usually use Provia mode for the out of camera jpegs. As many of you know, there are tons of different Film Simulation modes as Fujifilm calls them. Provia is the default, which is my preferred setting. If you want something more vivid, there’s Velvia, for instance. I loved the Velvia slide film back in the film days but surprisingly to me at least, it’s not my favorite Film Simulation mode in the Fuji cameras. Anyway, there are tons to choose from, and when I get more free time, I’ll write up another post comparing them all.
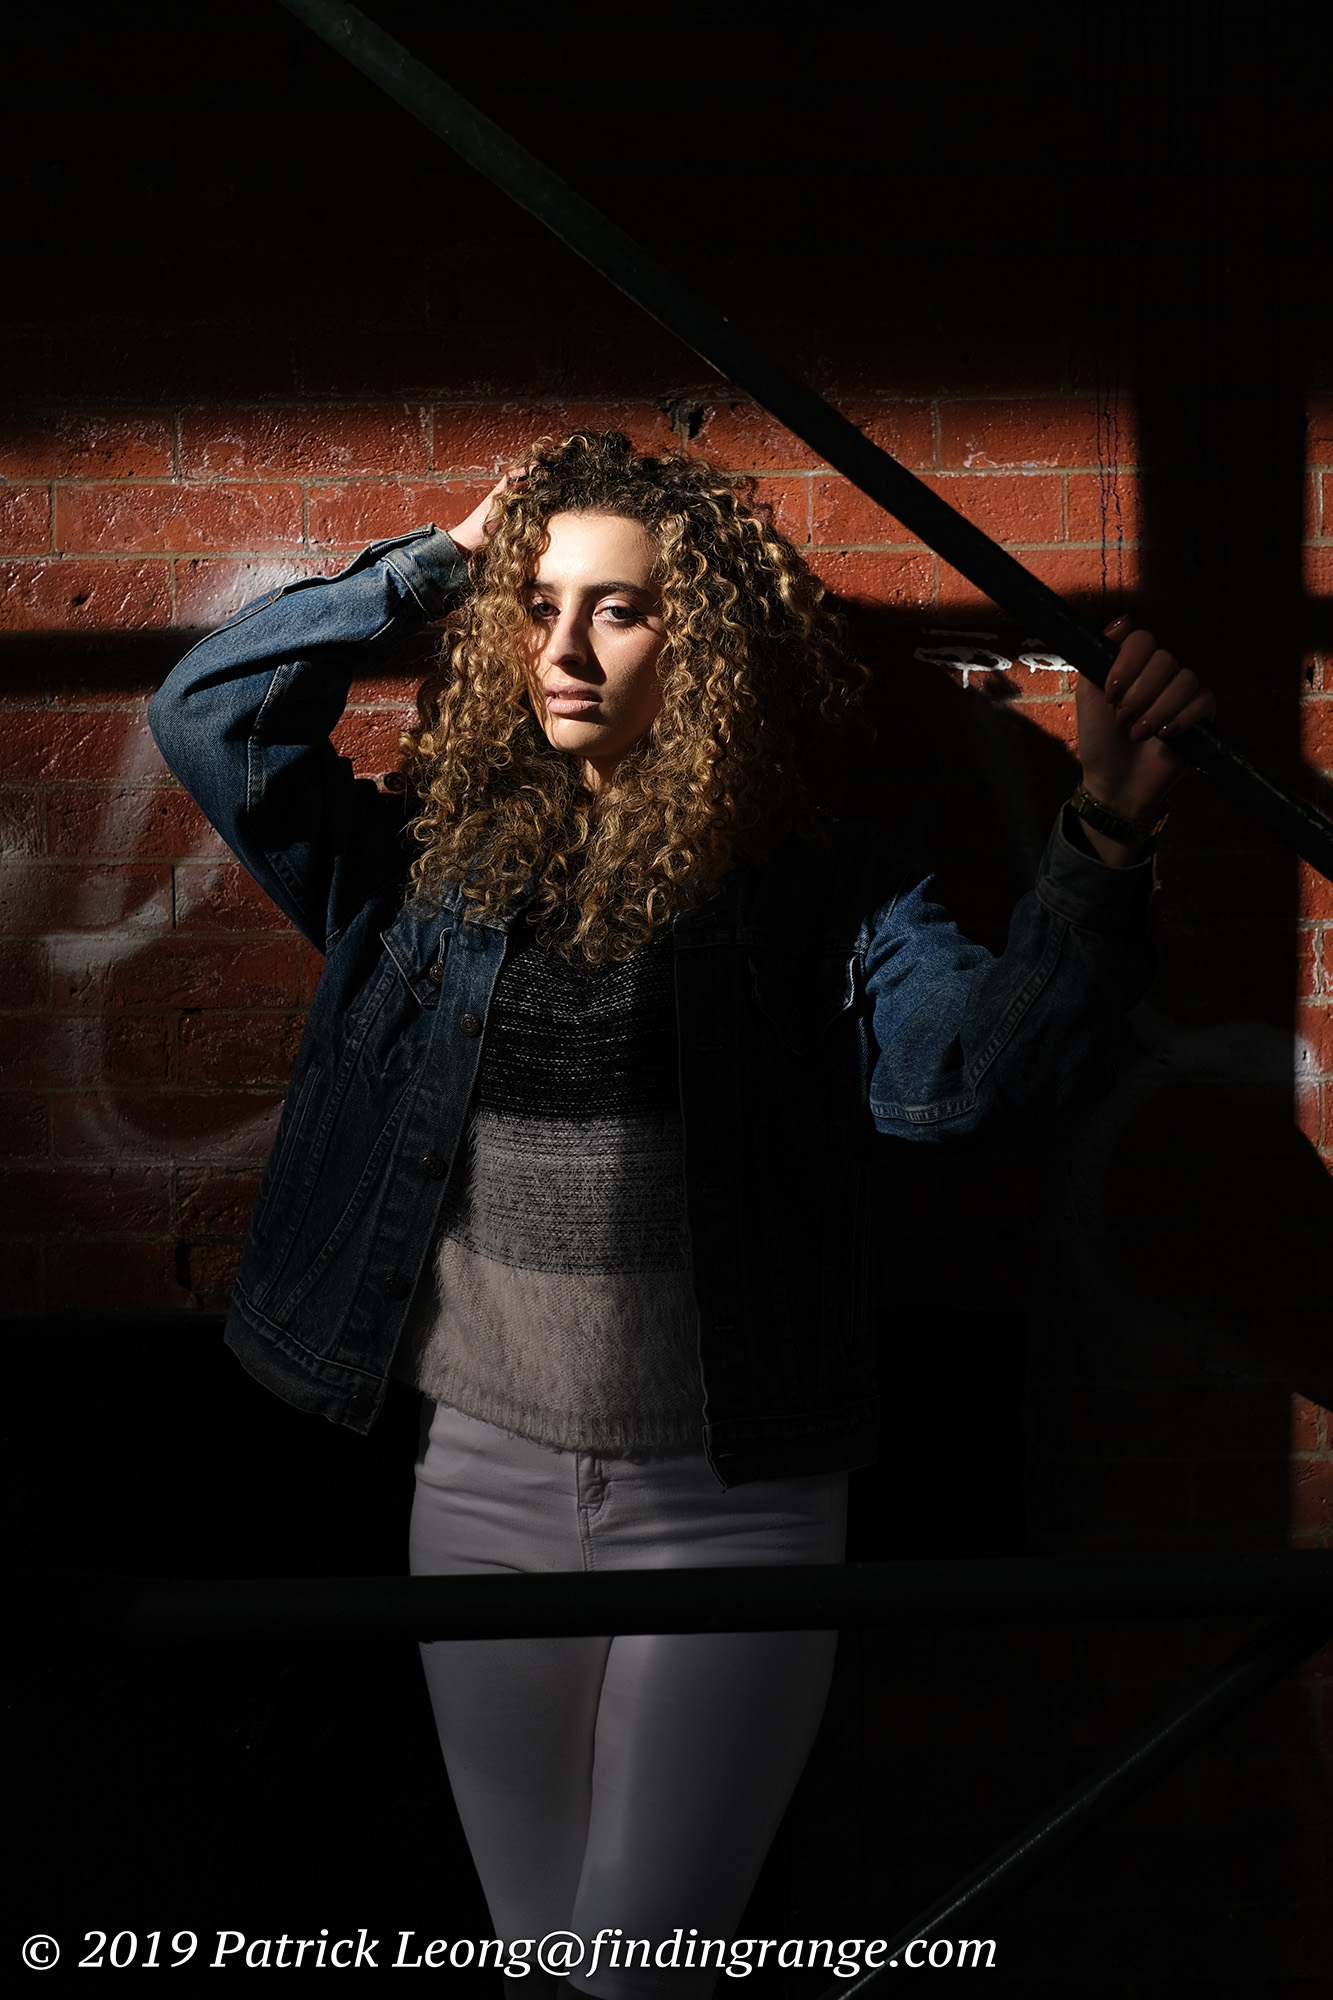
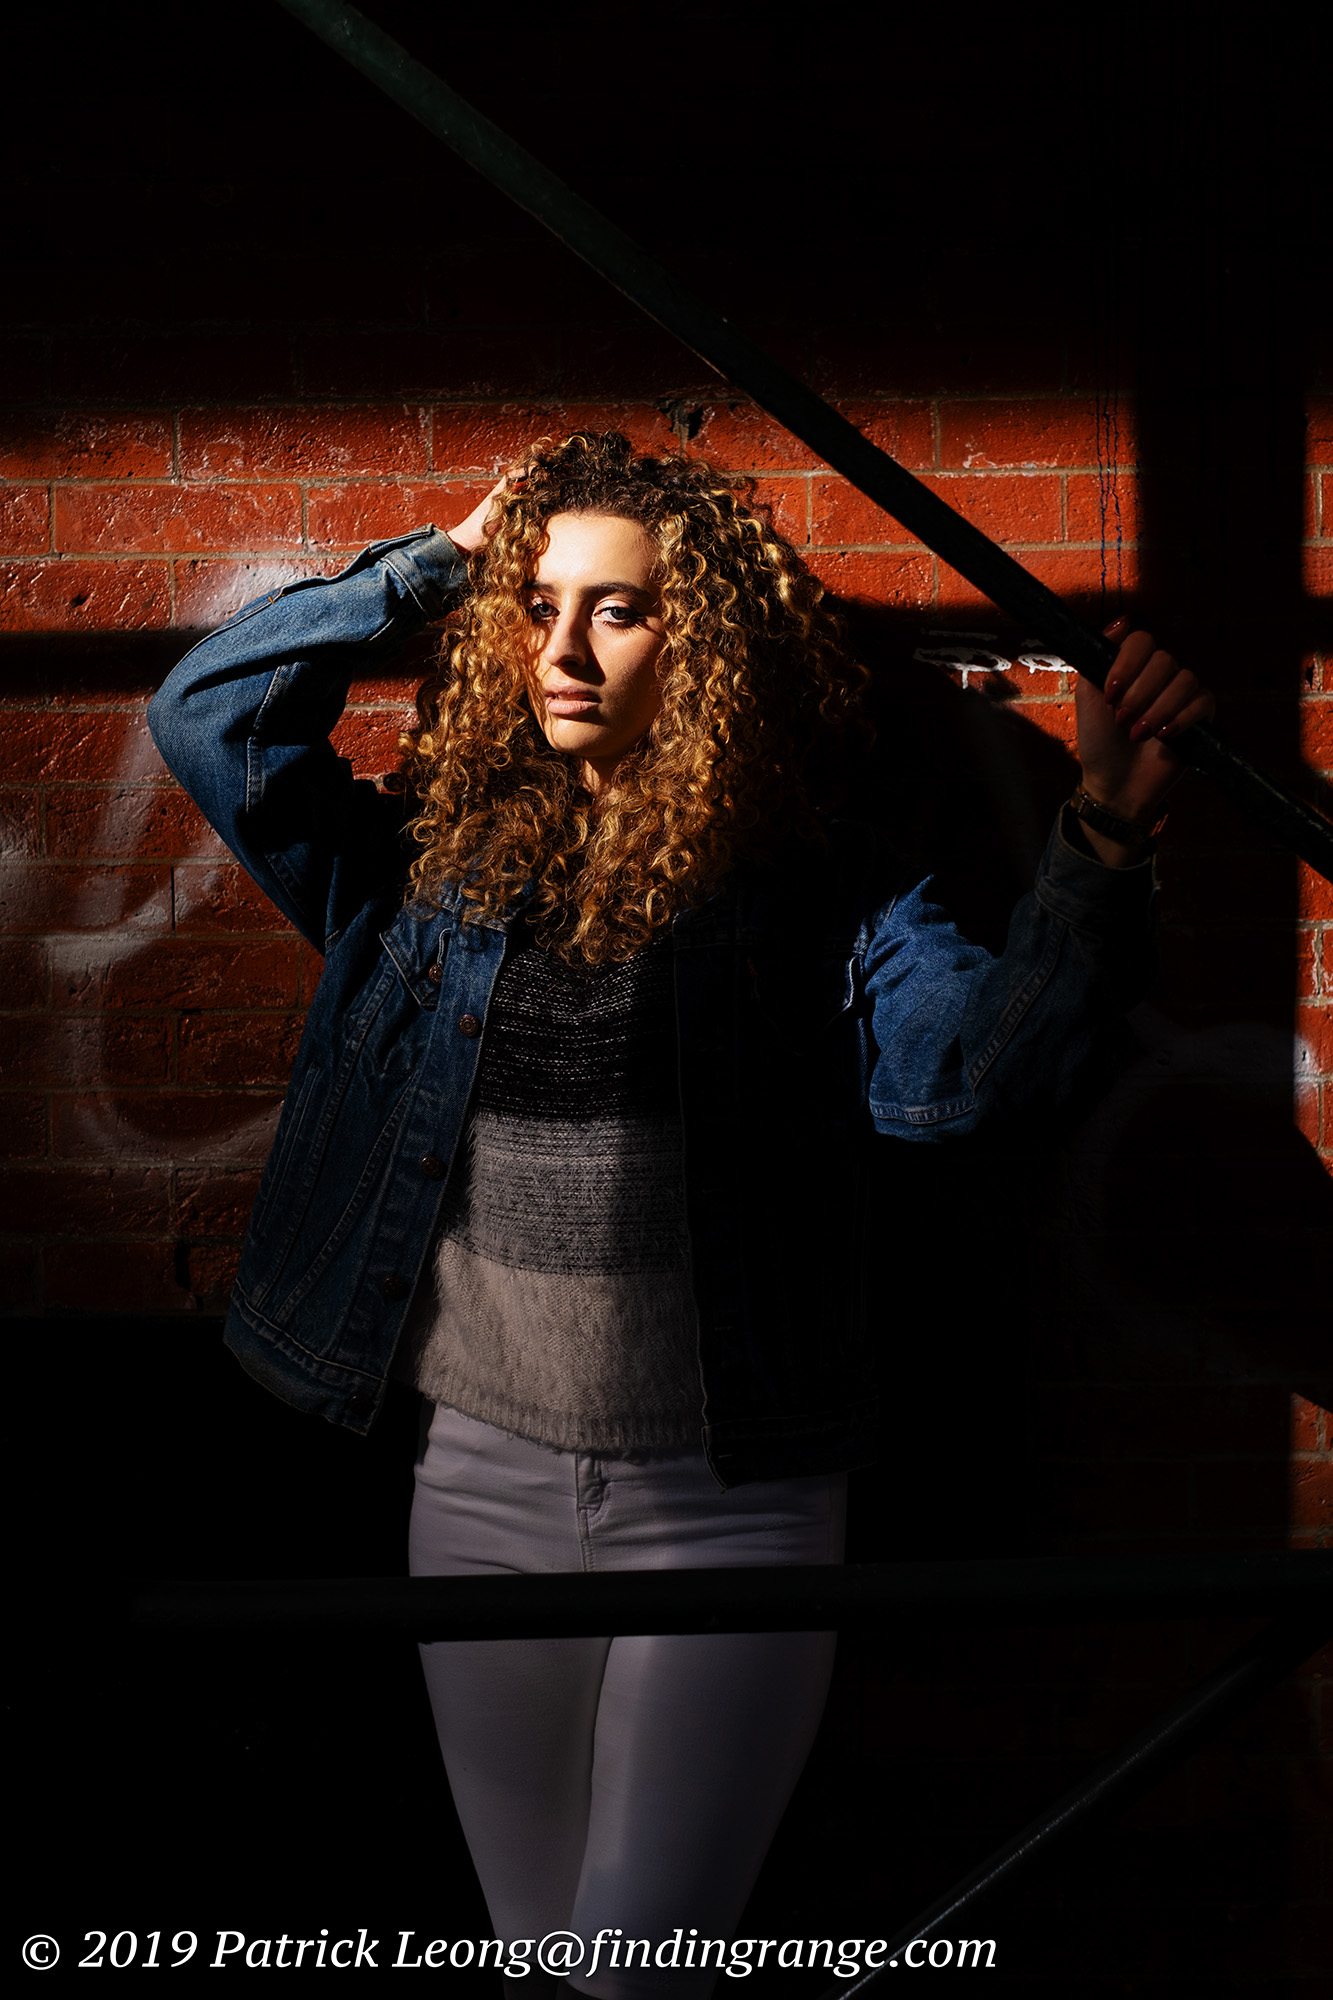
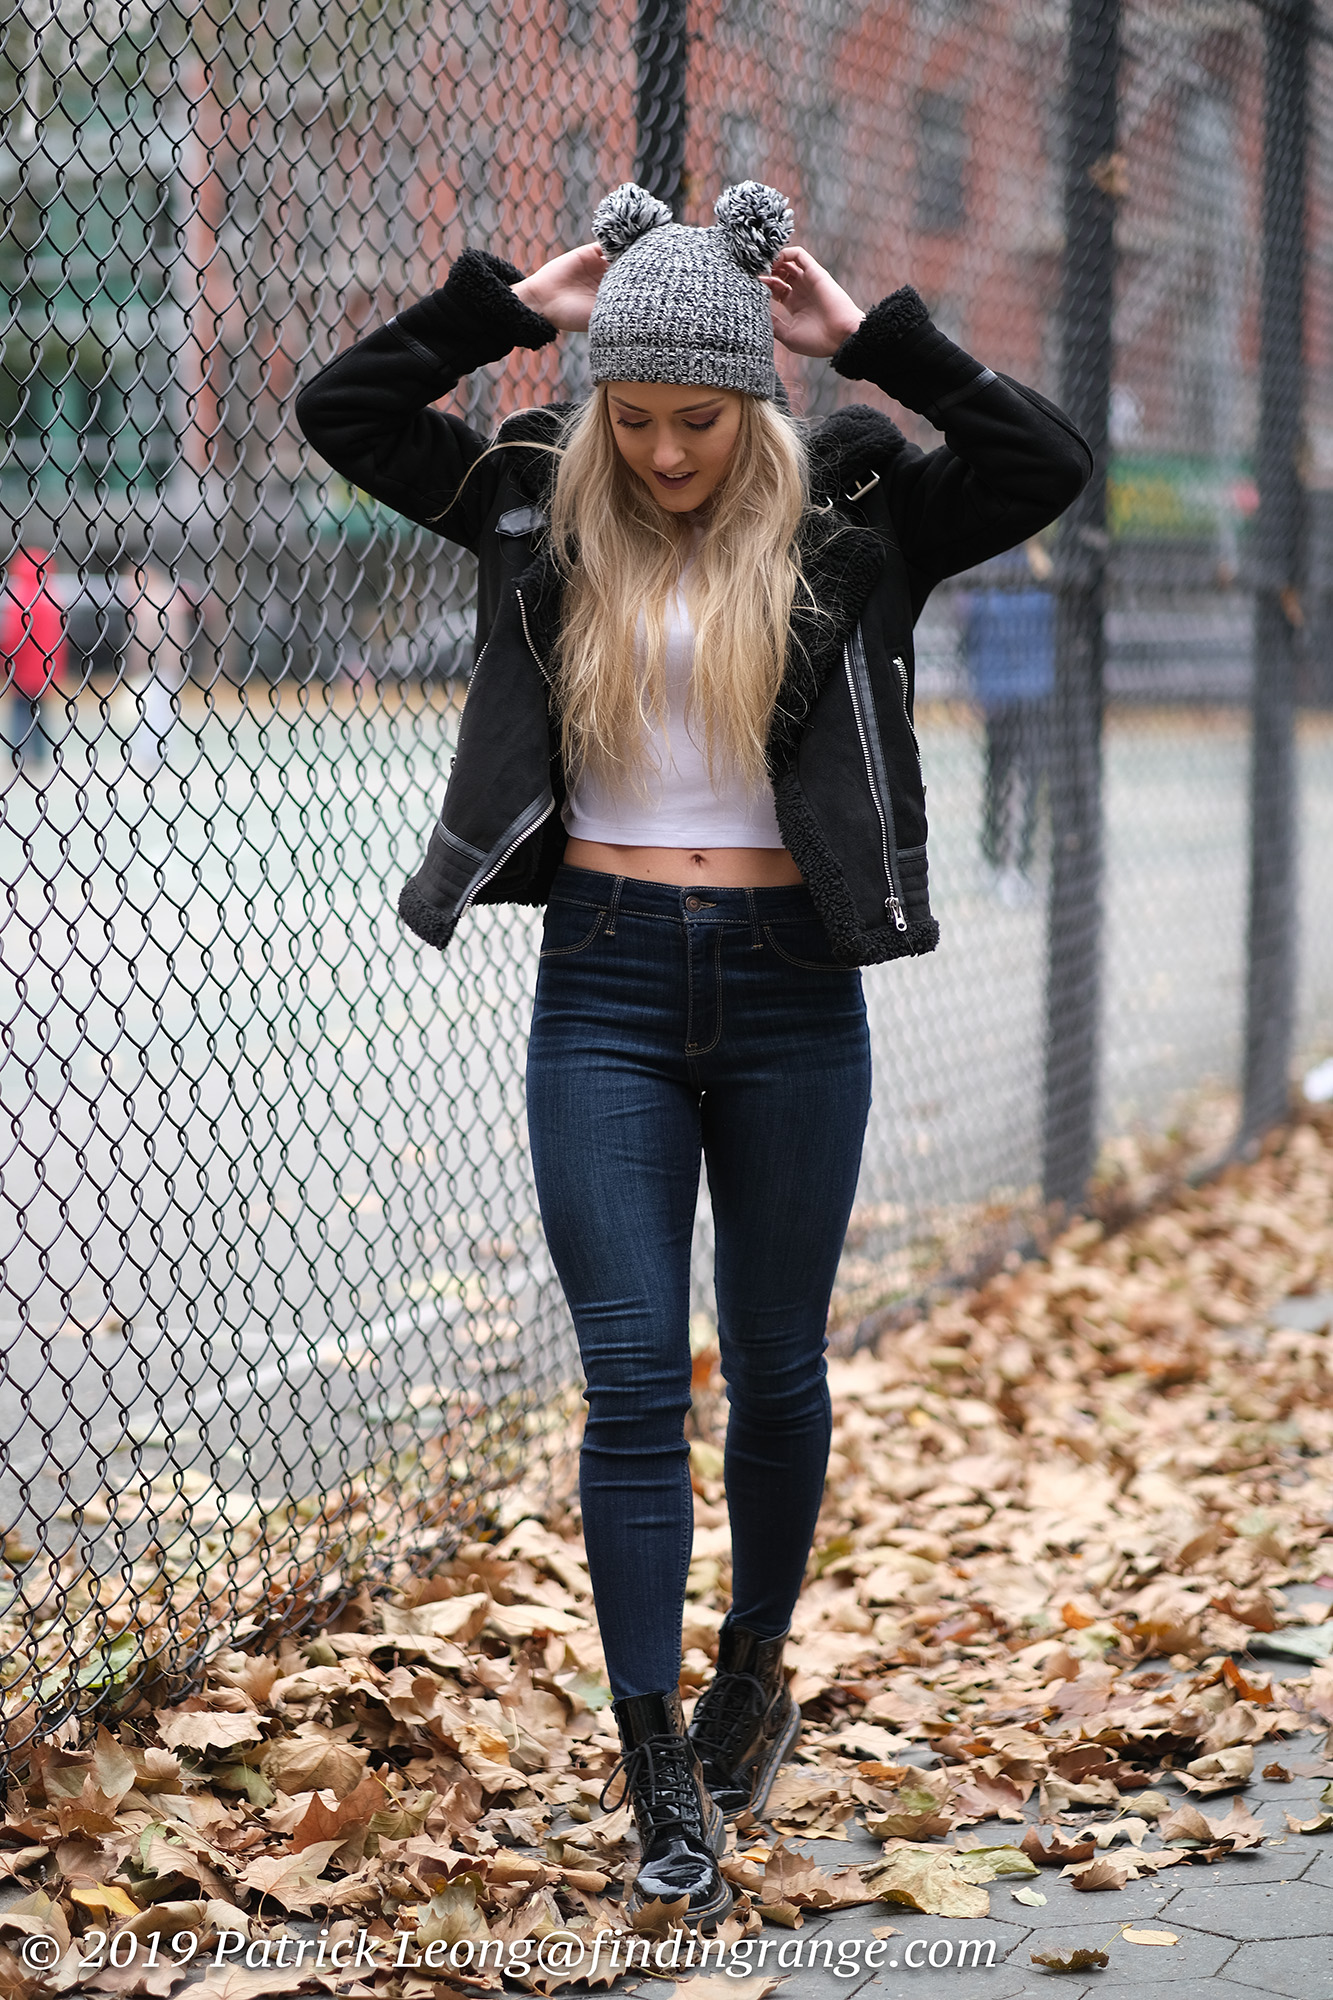

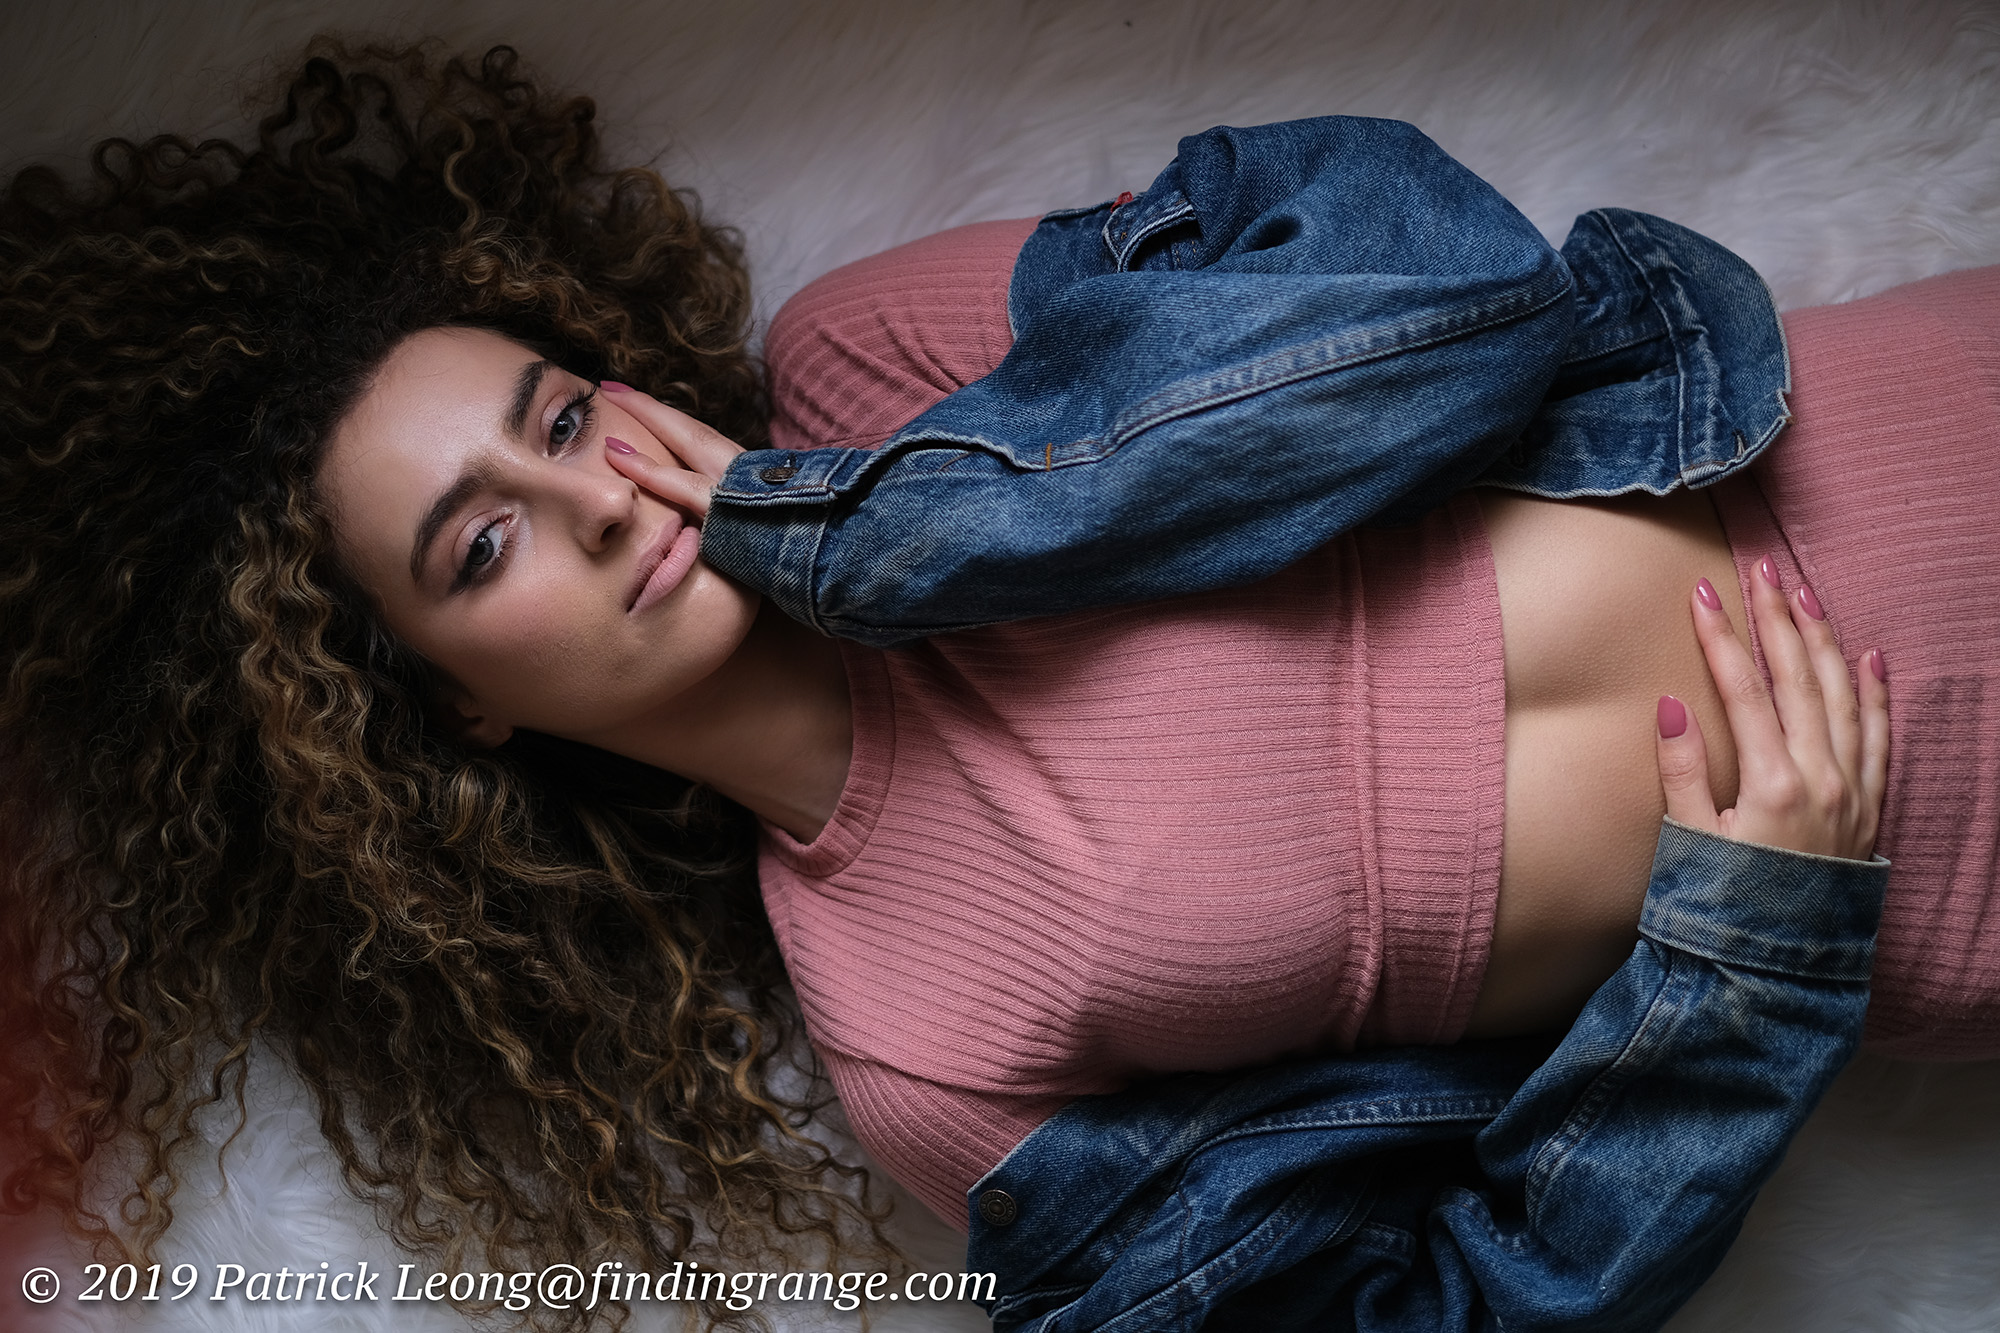
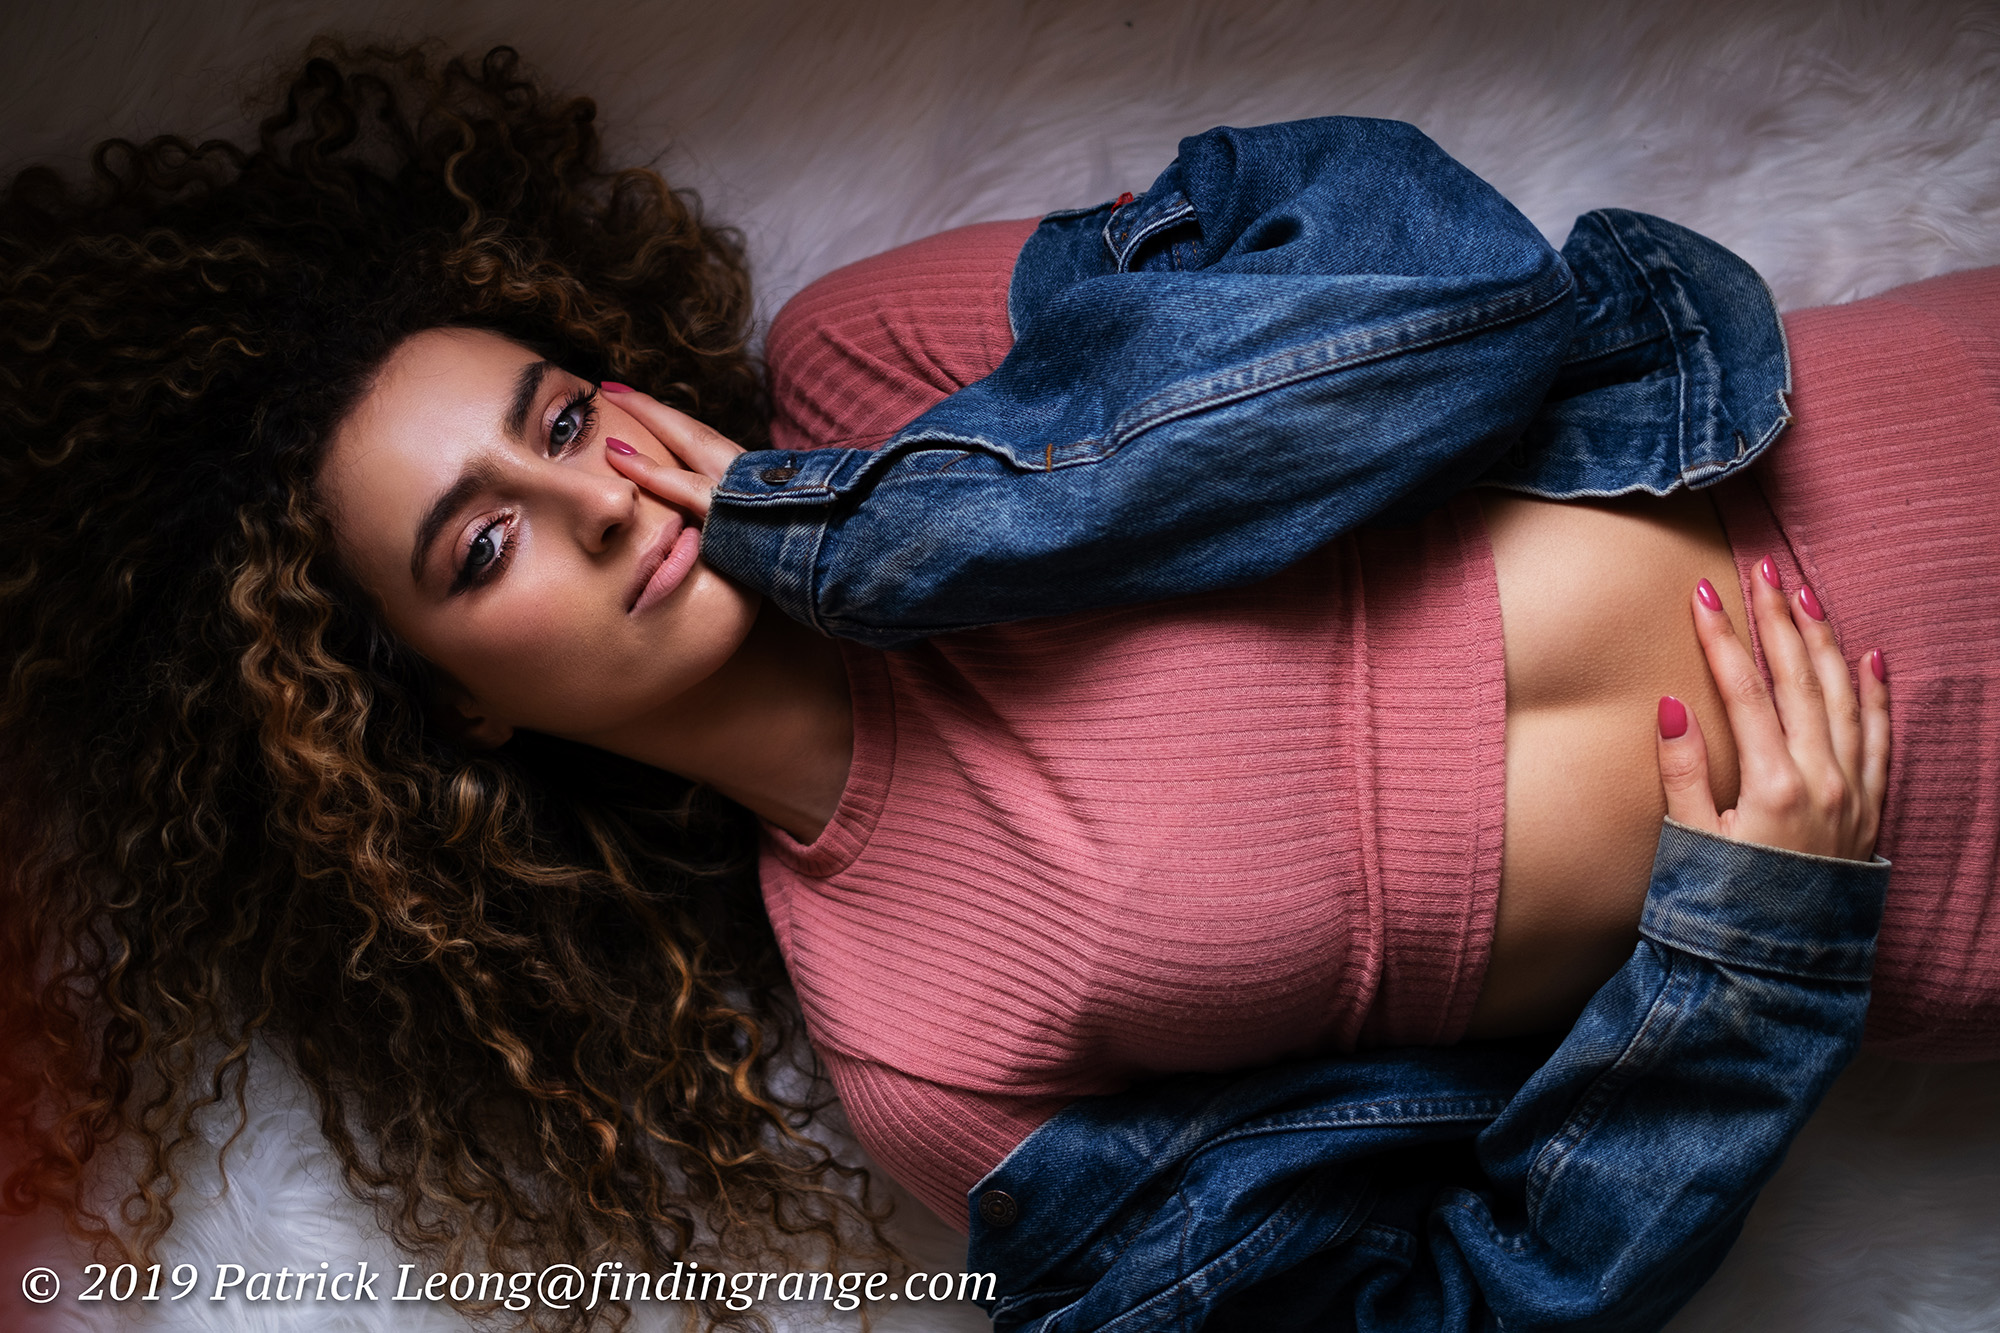
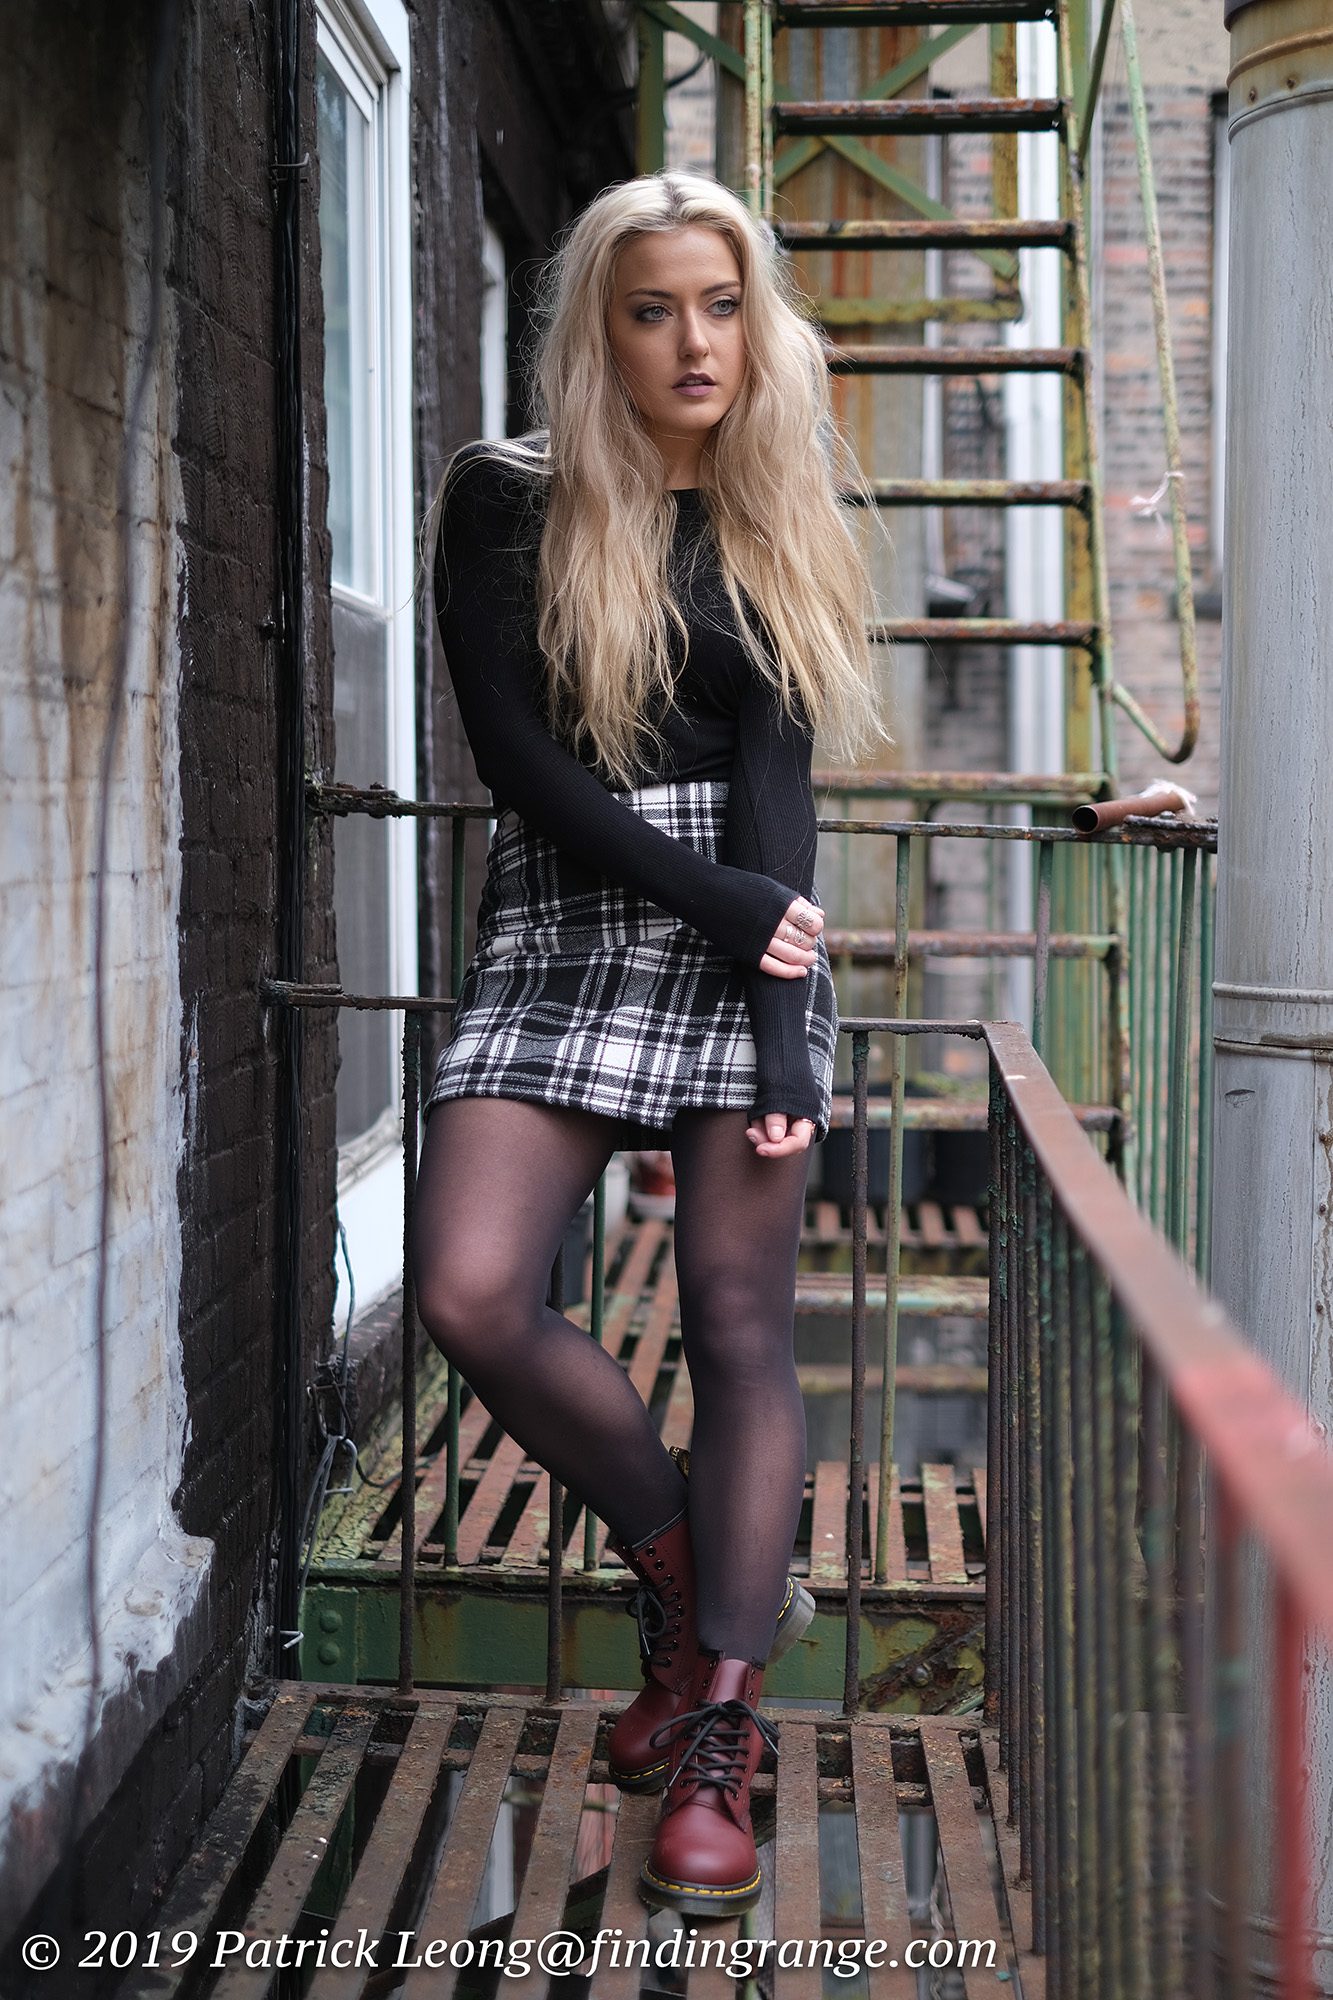
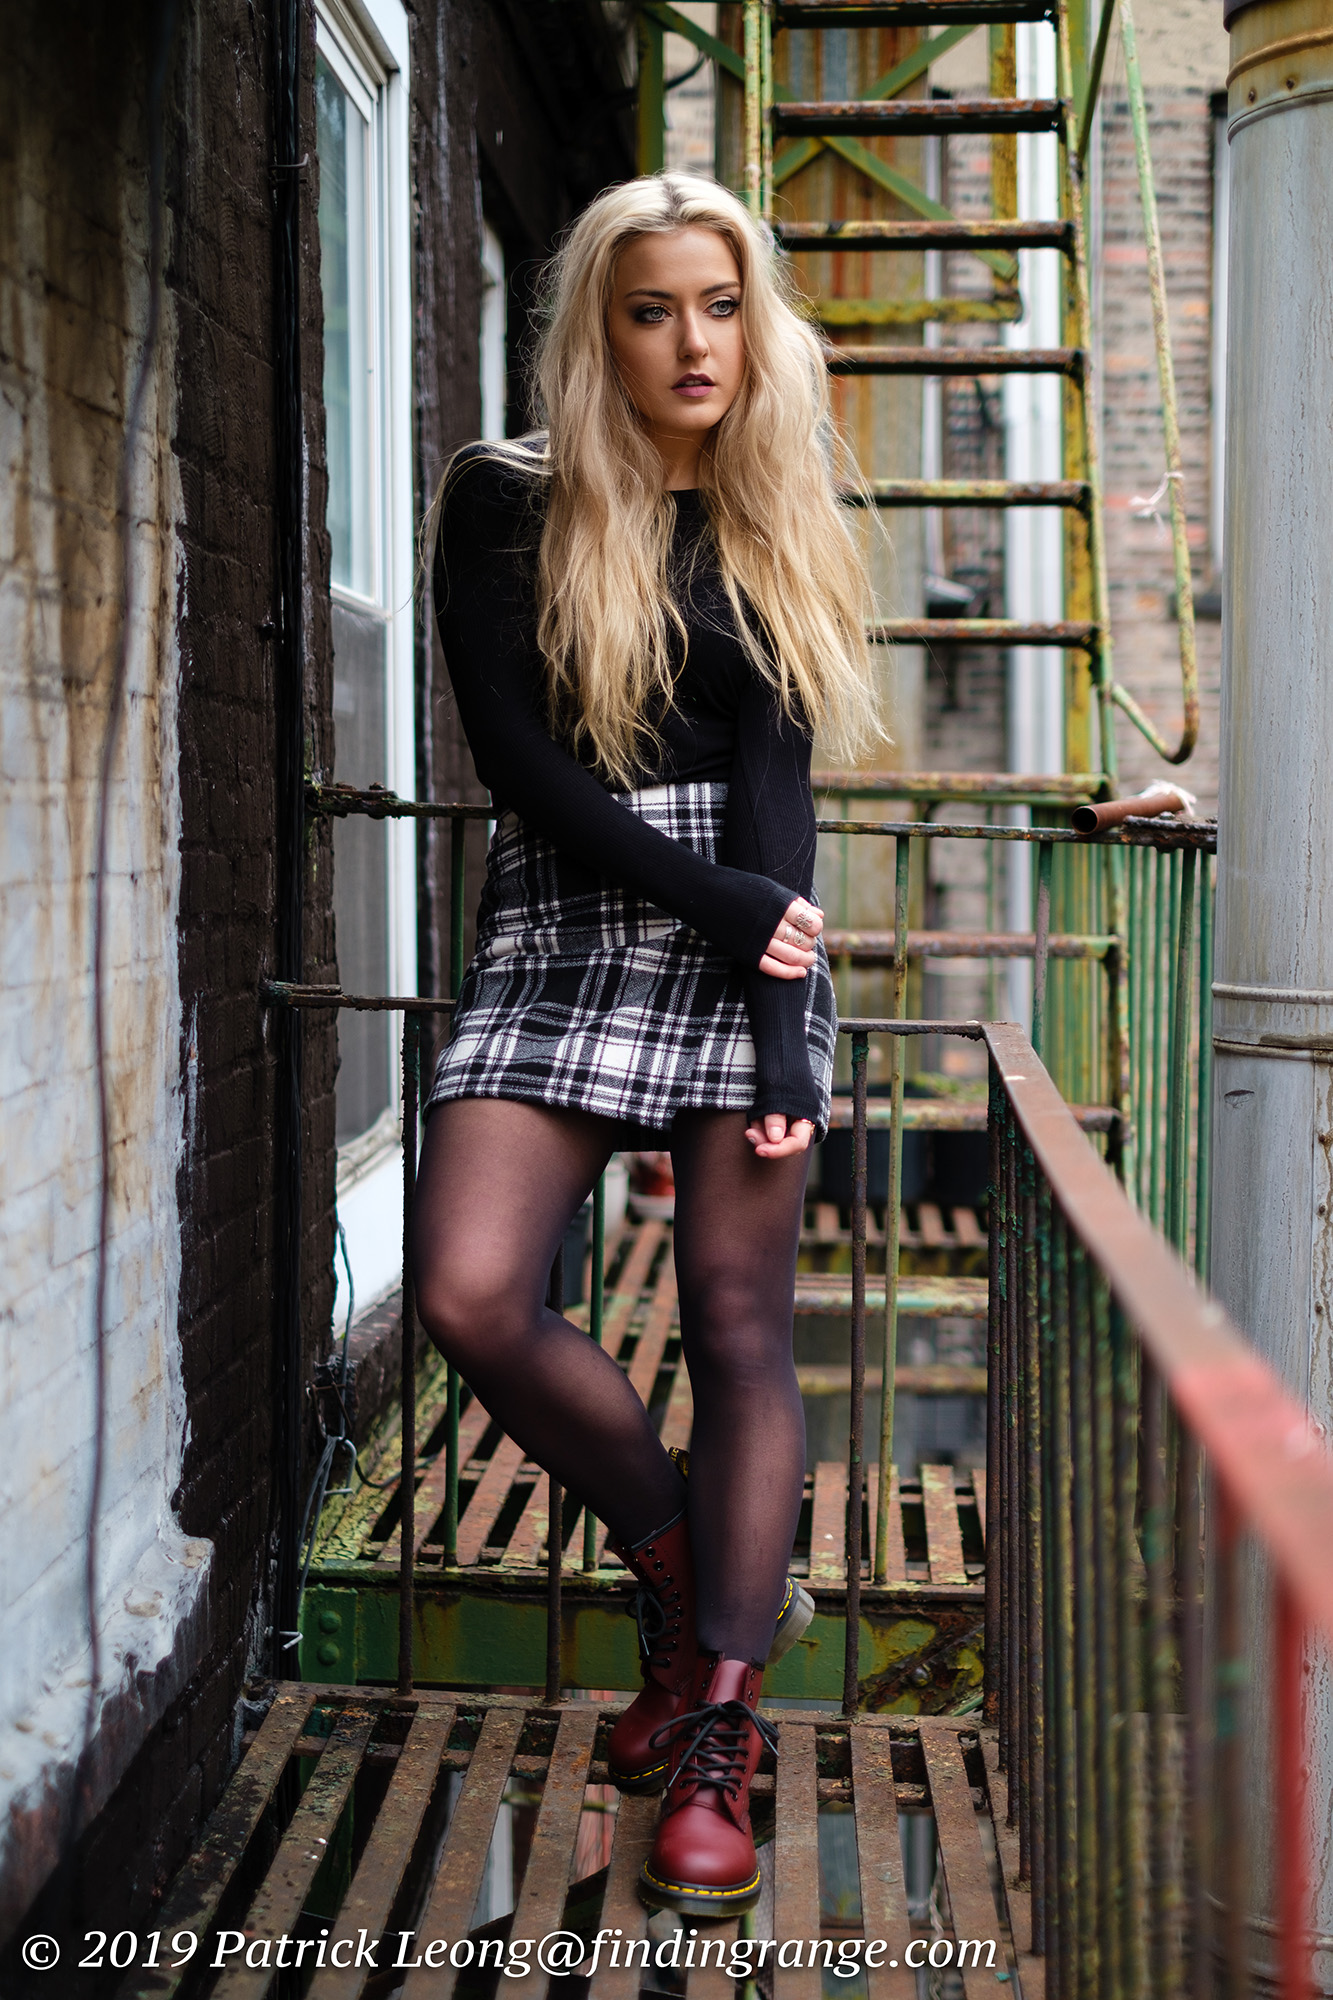
I do process my RAW files in Capture One sometimes but in this case, all the files you see here were processed in Photoshop CC. I did all my color, shadows, highlights, etc. in Camera Raw, and used Photoshop to help with some of the skin blemishes and hair. I had no specific agenda or style I was going for; I just usually edit a photo the way I feel the file should be edited. Most of these photos you might’ve seen already on my blog but at least now, you can see what the OOC jpegs look like as well.
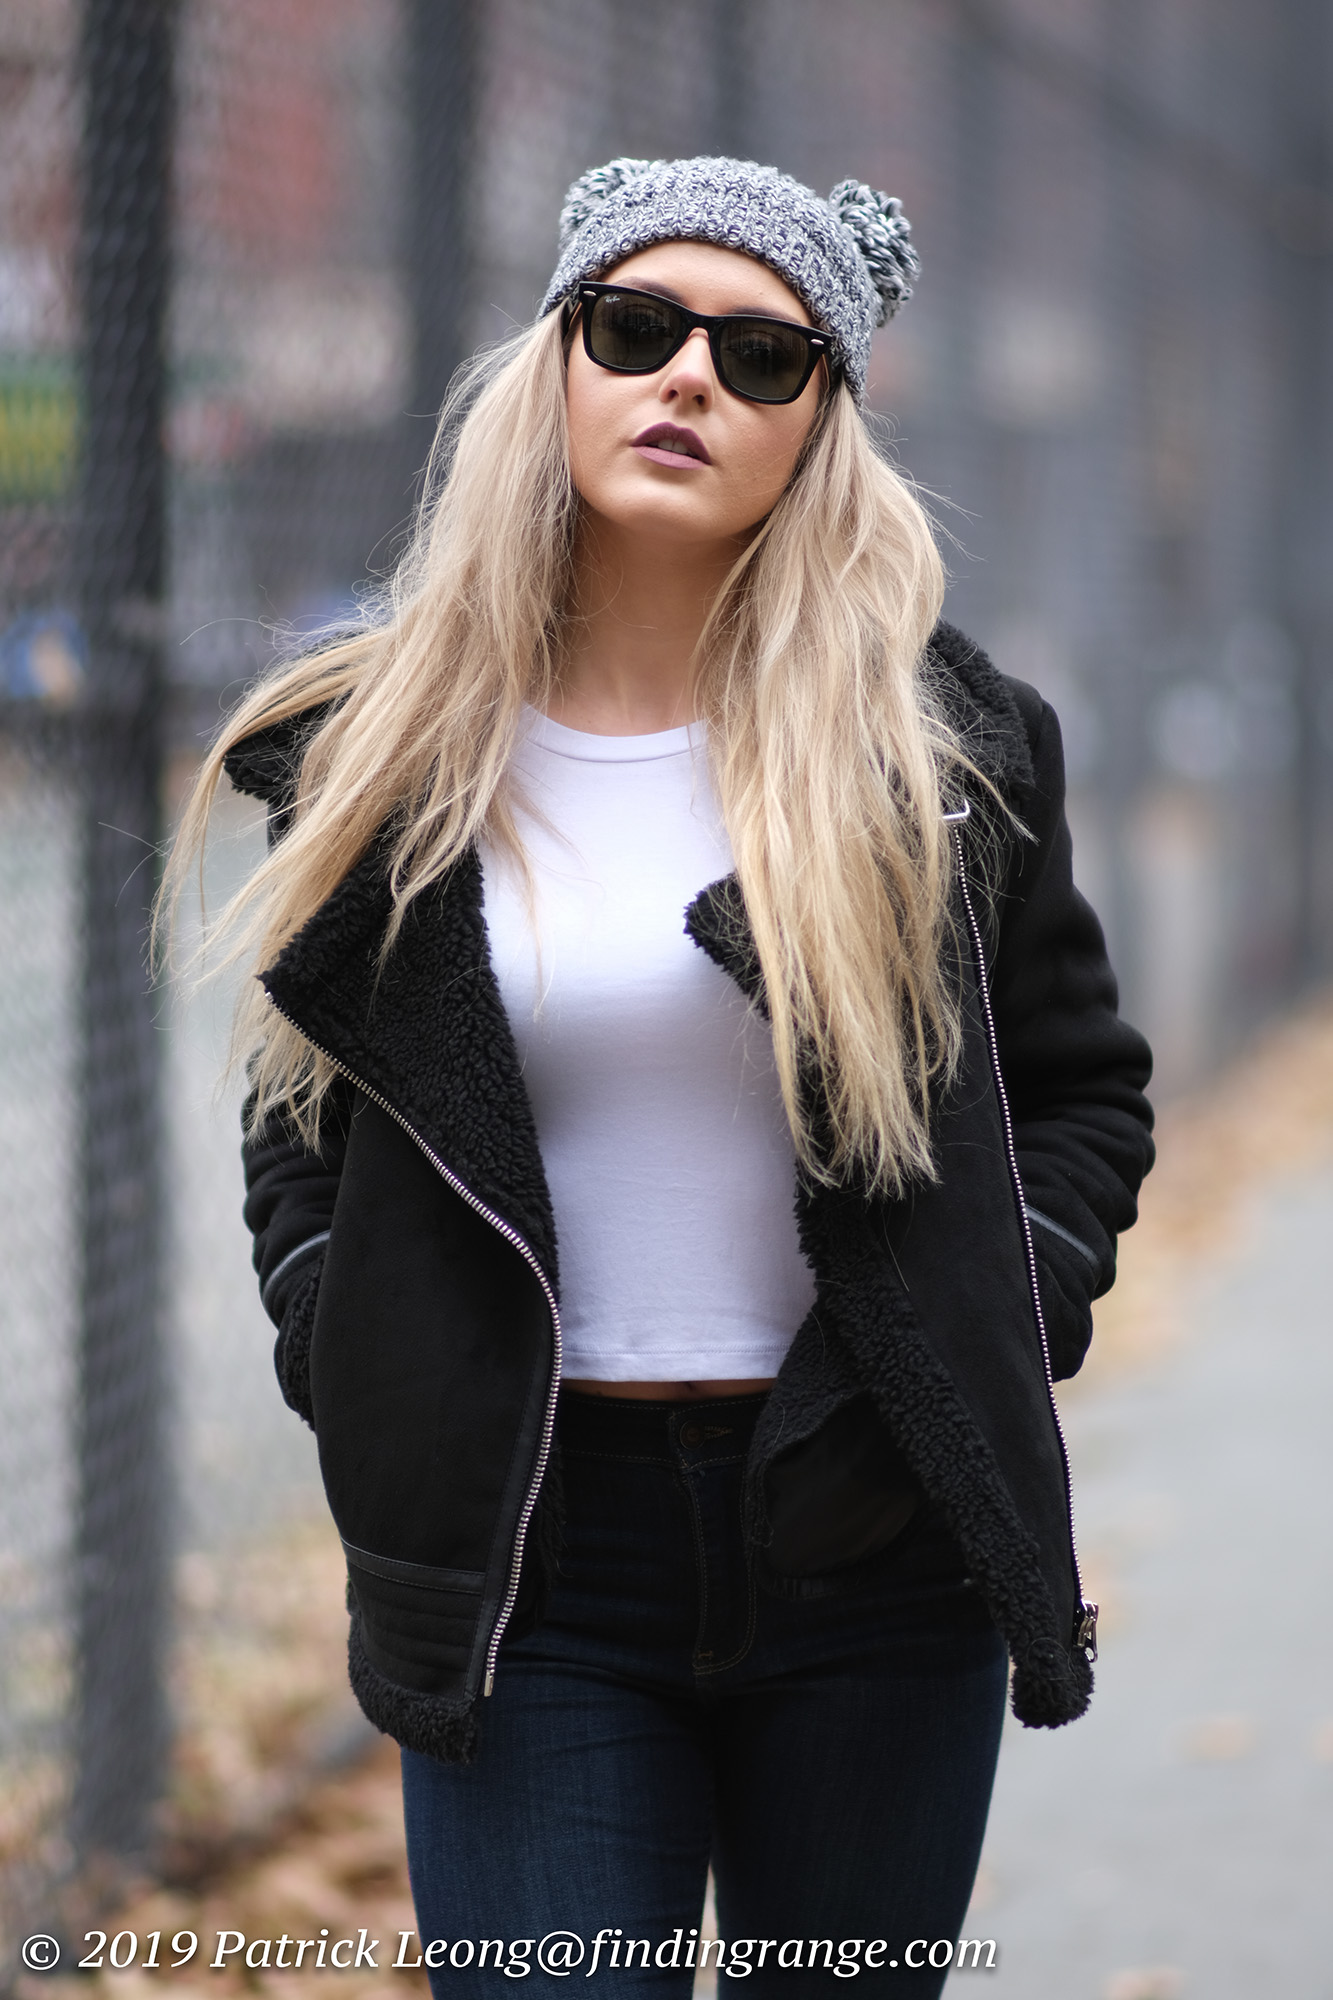


I hope you enjoy the photos, and stay tuned for more to come. I post tons of portrait and boudoir on my Instagram, which you are more than welcomed to view or/and follow. I may write up a more comprehensive OOC jpeg vs. RAW in the future but first up will be some new reviews :). Thanks for stopping by!
It’s always nice to see before and after. I like the fact that your edit is very minimal. I do use the Acros with the xT2 and I find it similar to film with the contrast.
Dane
Hi Dane,
Apologies for the late reply and thanks! The Acros is nice. It’s one of the better black and white out of camera jpegs, if you ask me :).
Best,
Patrick
Hi Patrick, nice to see this comparison. I haven’t got round to using capture 1 yet so have been using jpegs and modifying them in lightroom. (lightroom is not issuing any updates anymore I believe) . My favourite is astia, highlights (-2) and shadows (-1) down a bit, NR down all the way and a slight boost (+2) in sharpness. I then still apply some VSCO in lightroom. Has been working for me,though I must learn capture one soon, looks like my VSCO might be sitting idle in lightroom after that.
Hi Mahesh!
It’s great to hear from you and thanks! Capture One is nice; I used it quite a bit last year but somehow ended up back on Photoshop CC lol. Now, I’m switching back and forth depending on my mood :). The VSCO stuff is really cool. I wish I could try those film presets out but I heard they stopped making them for the desktop.
Best,
Patrick